Charging your Nintendo Switch controllers is essential for enjoying hours of gameplay without worrying about battery life. Whether you're new to the Switch or an experienced user, understanding how to charge your controllers is crucial.

Nintendo Switch controllers, like Joy-Cons and the Pro Controller, have their own charging requirements. Knowing these options and how to charge them helps you make informed choices for your gaming needs.
This article aims to guide you through the basics of charging your Nintendo Switch controllers, including factors that affect battery life and tips for extending their longevity, thereby allowing you to focus on your gaming experience.
Key Takeaways
- Learn how to charge Nintendo Switch controllers effectively
- Discover the variety of controller options and their charging methods
- Uncover tips to extend the battery life of your controllers
Understanding Nintendo Switch Controllers
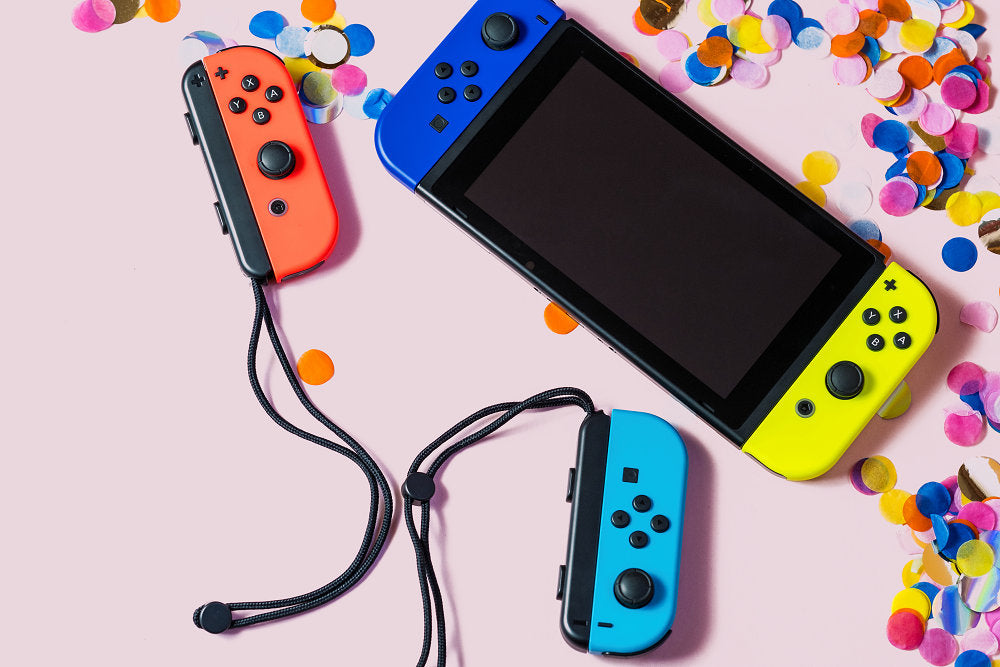
Joy-Con Controllers
Nintendo Switch comes with two Joy-Con controllers, which can be used separately or combined for a more traditional gaming experience.
Each Joy-Con has its own set of buttons and can be attached to the console for handheld mode or detached for tabletop or TV mode. To charge your Joy-Con controllers, attach them to the sides of the Switch. This will begin the charging process, taking approximately 3 ½ hours to fully charge them.
Pro Controller
The Pro Controller is an optional accessory that offers a traditional gaming controller experience with a sleek, ergonomic design. You can use any USB Type-C cable to charge it.
Third-Party Controllers
In addition to the official Nintendo Switch controllers, many third-party options are available for Switch gamers. They often provide alternative features or designs that suit various preferences and budgets.
When charging these third-party controllers, follow the manufacturer's instructions specific to your chosen controller. Most of them will likely use a USB charging cable similar to the Pro Controller. Always remember to keep your controllers charged for the best possible gaming experience. Happy gaming!
Charging Basics and Requirements
When charging your Nintendo Switch controllers, there are essential components and methods to know. This section will guide you through the basics of charging your controllers, ensuring you have the best gaming experience.

AC Adapter and Charging Dock
The primary method for charging your Joy-Con controllers is the Nintendo Switch AC Adapter. Connect the adapter to the Charging Dock and place your Switch and the attached Joy-Cons into the dock. Joy-Cons will charge automatically when the console is docked and connected to power.
- AC Adapter: Official Nintendo Switch AC Adapter
- Charging Dock: Nintendo Switch Dock
As the Joy-Cons charge, you can continue gaming on your TV.
USB Cable and HAC-002
You can use an official HAC-002 USB cable to charge the Joy-Cons. For a more comfortable grip and the ability to charge while playing, the Joy-Con Charging Grip (model No. HAC-012) is an optional accessory that is not included with any Nintendo Switch bundle.
LAN Port and Power Bank
Lastly, if you wish to charge your Nintendo Switch controllers on the go, you can use a Power Bank with a USB output compatible with the HAC-002 USB cable. Note that a LAN port is generally not used for charging; if you mean a USB port on a network device, make sure it is compatible.
- Power Bank: Must be compatible with a HAC-002 USB cable and have sufficient capacity.
Charging Your Nintendo Switch Controllers

Charging Nintendo Switch Console
Before we discuss charging controllers, it's important to know how to charge the console itself. Connect your Nintendo Switch console to the power adapter to charge it. Plug one end of the adapter into the USB Type-C port on the bottom of the Switch and the other into a wall socket. While the console is charging, the battery icon will display a charging symbol.
Charging Pro Controllers
Connect one end of the cable to the USB Type-C port on the top of the controller and the other to a power source such as a wall socket or USB port on a computer. The controller's battery life typically lasts around 40 hours, giving you plenty of time for gaming sessions. The goal is to keep your controllers fully charged for the best gaming experience.
Factors Affecting Charging and Battery Life
Battery Level
When charging your Nintendo Switch controllers, keeping an eye on their battery level is essential. The battery life of the controllers depends on several factors, including how long you've had them and how often you use them.
To ensure a longer lifespan, maintain a healthy charging cycle. It is recommended to charge your controllers when their battery level is low and avoid overcharging by disconnecting the charger once fully charged.
Handheld Mode and Sleep Mode
While the focus of this article is on controllers, it's worth noting that your gameplay style can also affect the console's battery life, which in turn impacts how often you'll need to charge the controllers. Also, it's worth noting that when playing games with high-performance requirements on the Nintendo Switch console, you may experience shorter battery life for the console itself.
Putting the console in sleep mode when not in use helps conserve battery. To extend battery life in handheld mode, consider lowering the screen brightness and closing unnecessary applications.
OLED Model and Switch Lite
Different Nintendo Switch console models offer varying battery life. For instance, the Nintendo Switch OLED model has an improved battery life compared to the original Switch. In contrast, the Nintendo Switch Lite has a reduced battery life due to its smaller size and integrated controls.
It's essential to understand the capabilities of your specific model to manage your gaming sessions and charging schedules effectively.
Frequently Asked Questions
1. How do I charge Joy-Cons with a Charging Grip?
To charge your Joy-Cons with a Charging Grip, first, ensure that you have the Joy-Con Charging Grip (model No. HAC-012), as the standard grip included with your Nintendo Switch does not support charging. Slide your Joy-Cons onto the Charging Grip until they click into place.
Next, connect the USB-C cable provided by the Charging Grip to the grip's USB-C port and plug the other end of the cable into the Nintendo Switch dock or a USB charger. The Joy-Cons will charge while they are attached to the Charging Grip.
2. How long does it take to charge Switch controllers to 50%?
The exact charging time may vary depending on the controller type and the charging method. However, using the standard charging methods generally takes approximately 1.5 to 2 hours for Joy-Cons to reach 50% charge. Pro Controllers and third-party controllers may have different charging times.
3. Do Switch controllers charge when connected to a docked console?
Yes, Joy-Cons charge when connected to a docked Nintendo Switch console. To charge your Joy-Cons this way, slide them onto the sides of the Switch while it's docked. The console will charge the Joy-Cons automatically using its internal battery.
4. How can I tell if my Switch controllers are charging?
When Joy-Cons is charging, you will see an orange LED indicator on the side of the controller that faces the Switch console. This LED will turn off once the controllers are fully charged. You can also navigate to the Controller menu on your Nintendo Switch to see the current battery level of all connected controllers.
Order Nintendo Switch Controller Adapters for Charging

Send us a message via the customer contact form on our website to order in bulk today. We'll answer your questions and help you with bulk orders.